What Nap Roller For Textured Ceiling . As you increase the nap size of the textured roller, the amount of texture it creates will also get increase. Once you’ve picked either a woven or knit roller, the next characteristic you want to focus on is the nap height, which is the length of the fibers that extend from the backing and carry the paint to the wall. Level 5 Finish How to Roll Skim Drywall from drywall101.com The wooster golden flo roller cover is a great quality option for working with textured walls. Wooster golden flo roller cover. As you increase the nap size of the textured roller, the amount of texture it creates will also get increase.
Blender Add Texture To One Face. Make sure it is mapped to color in the influence section as well (it will be mapped to. In the 3d viewport, select all faces in your object in the 3d viewport by pressing the a hotkey.
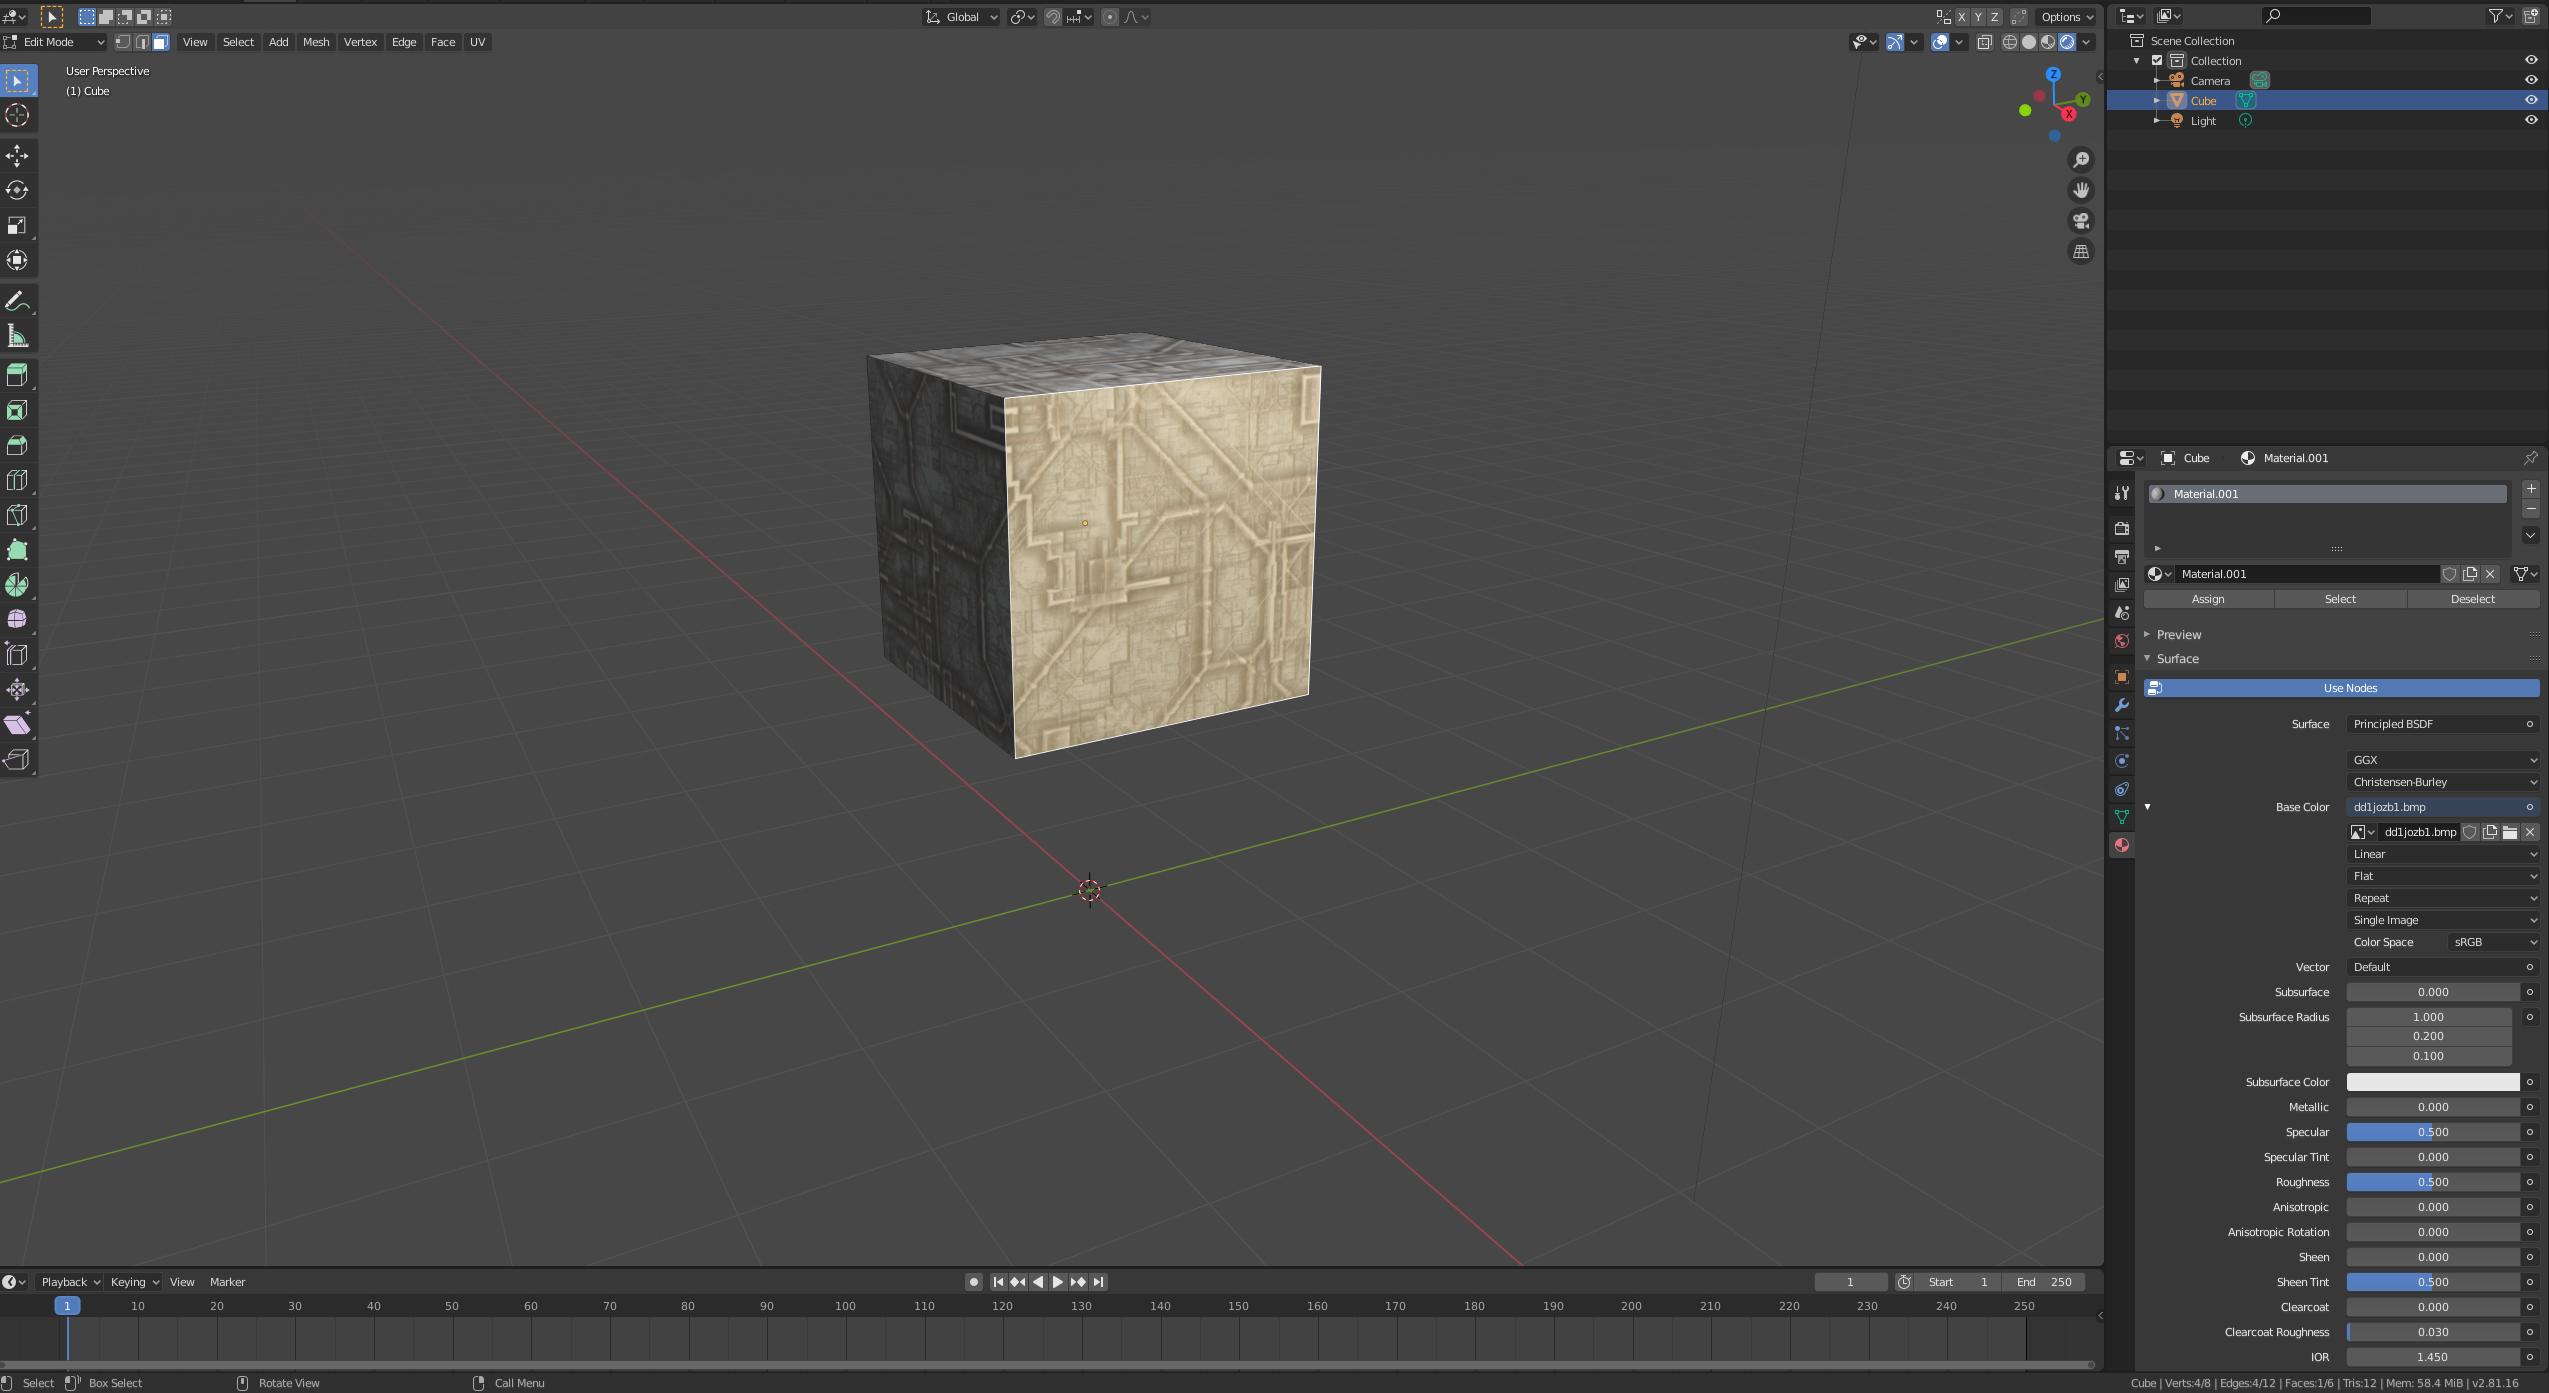
scale Adding Texture to only 1 face of object Blender Stack Exchange from blender.stackexchange.com
Select the face/faces you only want that modifier to apply to and go to object data properties panel, click the plus to the right of vertex groups section and then click assign under the list. Adding two textures to a single face is possible in blender with the use of the geometry node. Break your model up into separate models for each face.
A Texture Setup To Map Using Its Uv Coordinates.
Expands a face set by radiating outwards from the face set in a uniform manner. Make sure it is mapped to color in the influence section as well (it will be mapped to. This will share the chosen texture with more than one object, hence the number.
In Object Mode, I Select The Face And Then The Uv Sphere And Using Ctrl P, I Parent The Object Using Keep Transform.
When only two vertices are selected it will create an edge, otherwise it will create faces. You can now use that vertex group in modifiers that allow for it. See it to believe it.
If Our Texture Is Already Stretched, We Need To Adjust The Uv Map That Describes How The Texture Is Projected On To Our 3D Model.
In most cases, this is what we need to add a texture to an object and see it: Below a link to the blender file. An alternative way is to set up a face textures material as shown.
On The Options Panel, Enable Face Textures.this Way Is Quick, But Bypasses The Normal Rendering System For Fast Results, But Results Which Do Not Respect.
Setup a material for your object. Det er gratis at tilmelde sig og byde på jobs. This blender tutorial shows one way on how to apply certain parts of an exsisting texture to selected faces of a mesh.
From The Many New Options Displayed, Click On “Image Texture”.
Select your object and go to the uv editing workspace found in blenders header. In the mapping section, choose uv from the coordinates menu, and select the uv map to use. Similar issue with other textures.


Comments
Post a Comment